
Avoid These Common Mistakes When Taping and Mudding Drywall
Taping and mudding drywall is an essential part of achieving that clean, seamless finish every wall deserves. Whether you’re building out a new room or patching up some damage, learning how to tape and mud drywall properly will save you time, stress, and costly rework.
Done right, this process blends joints and seams into a smooth, paint-ready surface. Done wrong? You’re looking at bubbles, cracks, and uneven textures that scream "amateur." But don’t worry—this guide will walk you through every step, from tools to common mistakes to avoid.
Tools & Materials You’ll Need
Before getting started, gather the following tools and materials:
- Taping knives (6", 10", and 12")
- Joint compound (all-purpose or lightweight)
- Drywall tape (paper or mesh)
- Corner beads (metal or plastic)
- Mud pan
- Sanding sponge or pole sander
- Utility knife
- Drill or screw gun (optional for repair work)
Preparing the Drywall for Finishing
A solid finish starts with solid prep. Here’s what to do before the mudding begins:
- Inspect for damage: Check for loose fasteners or cracked drywall. Patch holes or tears with mesh if needed.
- Tighten up seams: Make sure all drywall panels are flush and tightly secured.
- Slightly recess screws: This prevents them from protruding through the mud later.
Choosing the Right Drywall Tape and Compound
Not all tape and mud are created equal. Here’s a quick breakdown:
- Mesh tape: Easier to apply, great for flat seams, but needs setting-type compound to prevent cracks.
- Paper tape: Stronger and better for corners but takes more precision.
As for joint compound:
- Pre-mixed compound is convenient and ideal for beginners.
- Setting-type compound (like “hot mud”) dries faster but is less forgiving.
For most projects, a lightweight all-purpose compound offers the best balance of ease and finish quality.
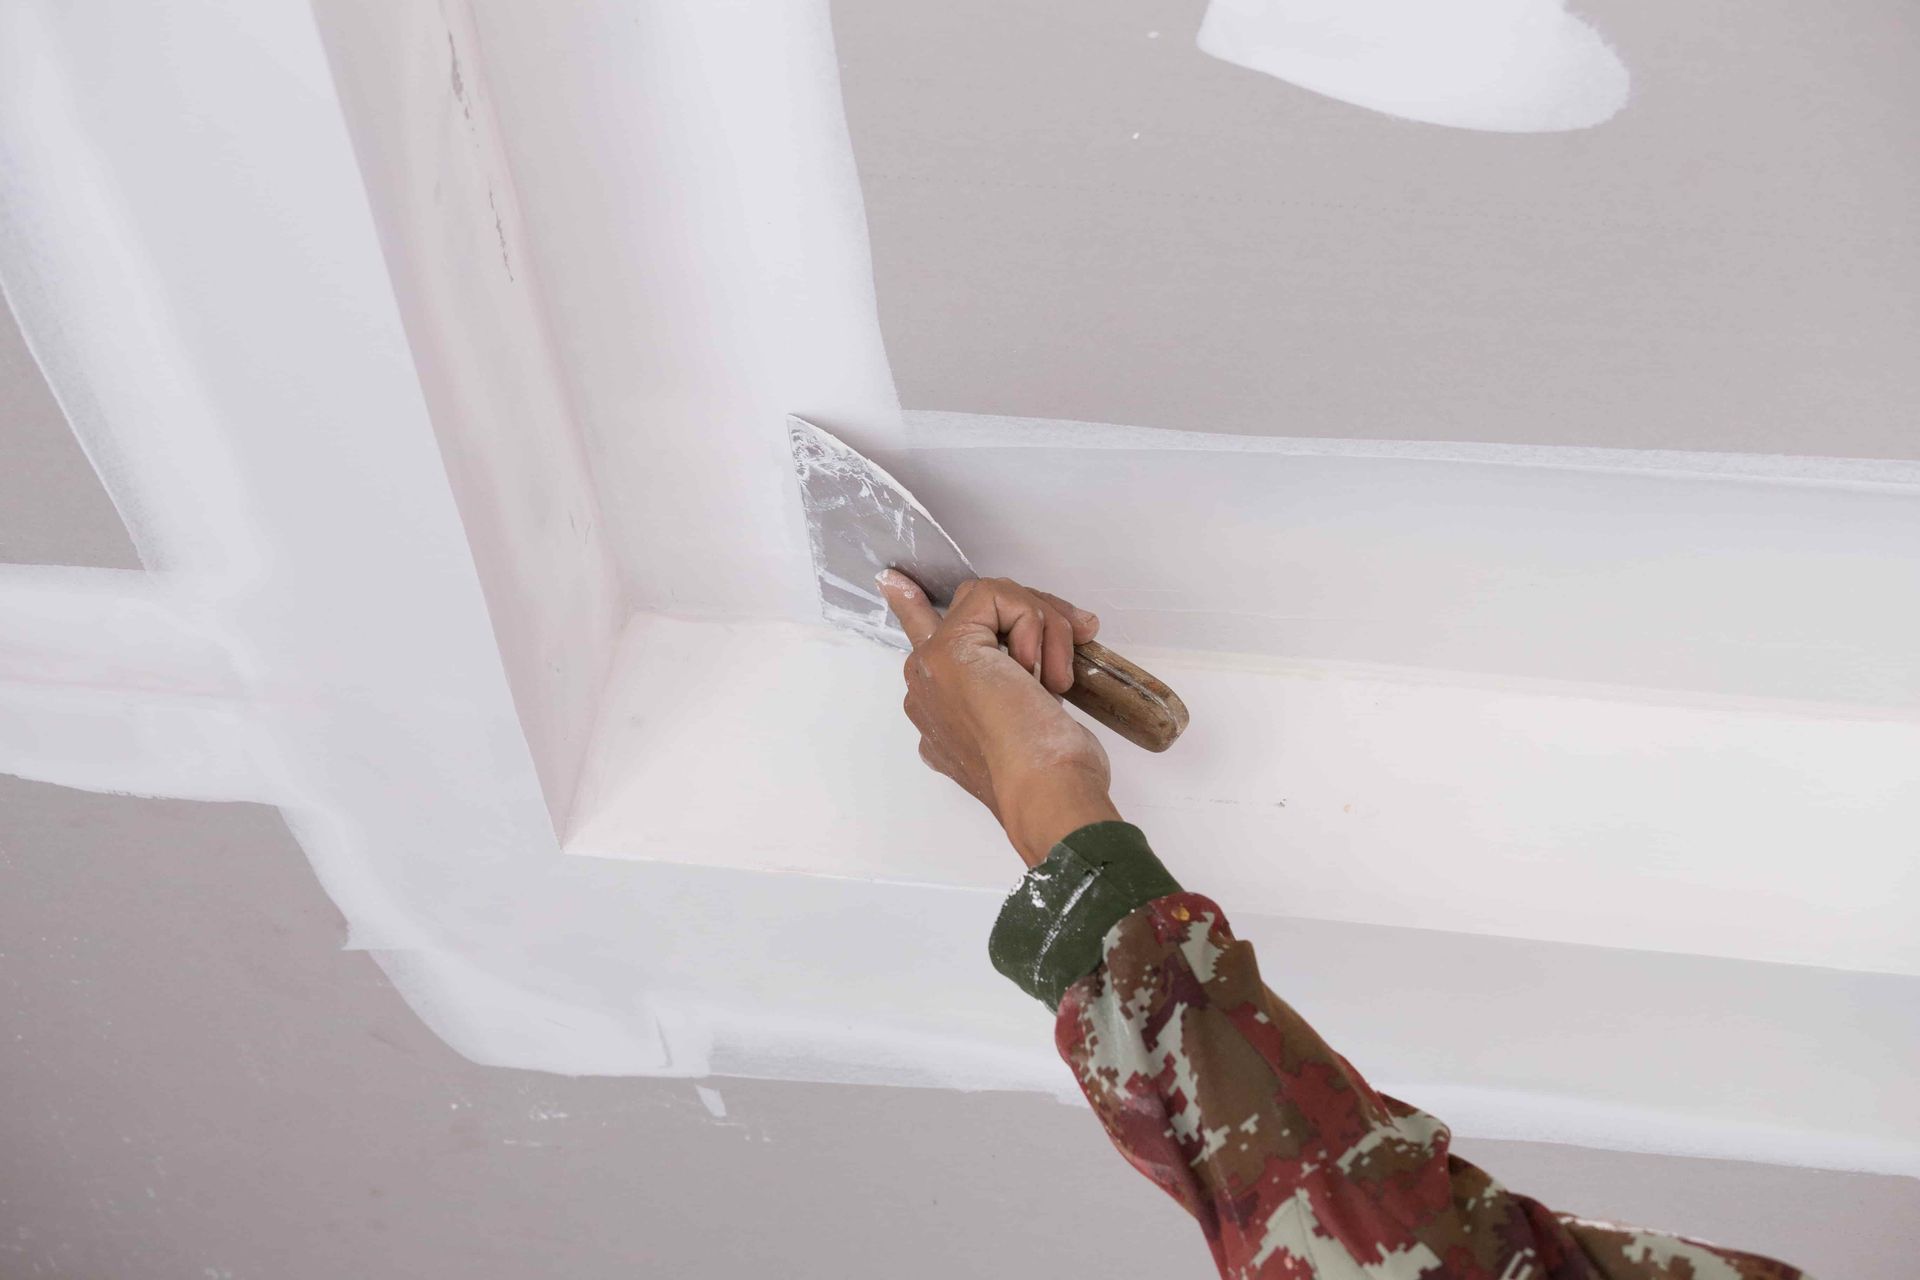
Step-by-Step Taping and Mudding Process
Taping the Seams
- Apply a thin layer of compound along each seam.
- Press in your drywall tape—paper or mesh—and smooth it out with a 6" knife.
- Feather the edges to blend it into the drywall.
Mudding the Joints
- Once the tape coat is dry, apply a second, wider layer using a 10" knife.
- Let it dry fully, then apply a third, even wider coat with a 12" knife.
- Always feather edges to eliminate visible lines.
Finishing Inside Corners and Outside Edges
Inside Corners
- Use paper tape folded down the center or pre-creased corner tape.
- Apply mud to both sides of the corner, then press in the tape.
- Smooth with a corner trowel or corner knife.
Outside Corners
- Install corner beads firmly using screws or spray adhesive.
- Apply three layers of compound, feathering each coat out farther than the last.
Drying and Sanding
- Let each coat of compound dry fully—usually 24 hours for pre-mixed mud.
- Use a sanding sponge or pole sander to smooth surfaces between coats.
- Avoid over-sanding, which can expose the tape.
- Always wear a dust mask, or better yet, use a vacuum sander.
Common Mistakes to Avoid
Even experienced DIYers trip up here. Be mindful of these:
- Applying too much mud at once: Leads to sagging and longer drying time.
- Not letting coats dry fully: Results in cracking and peeling.
- Over-sanding: This removes too much material and exposes tape.
- Using the wrong tape or mud: Can cause poor adhesion and bubbling.
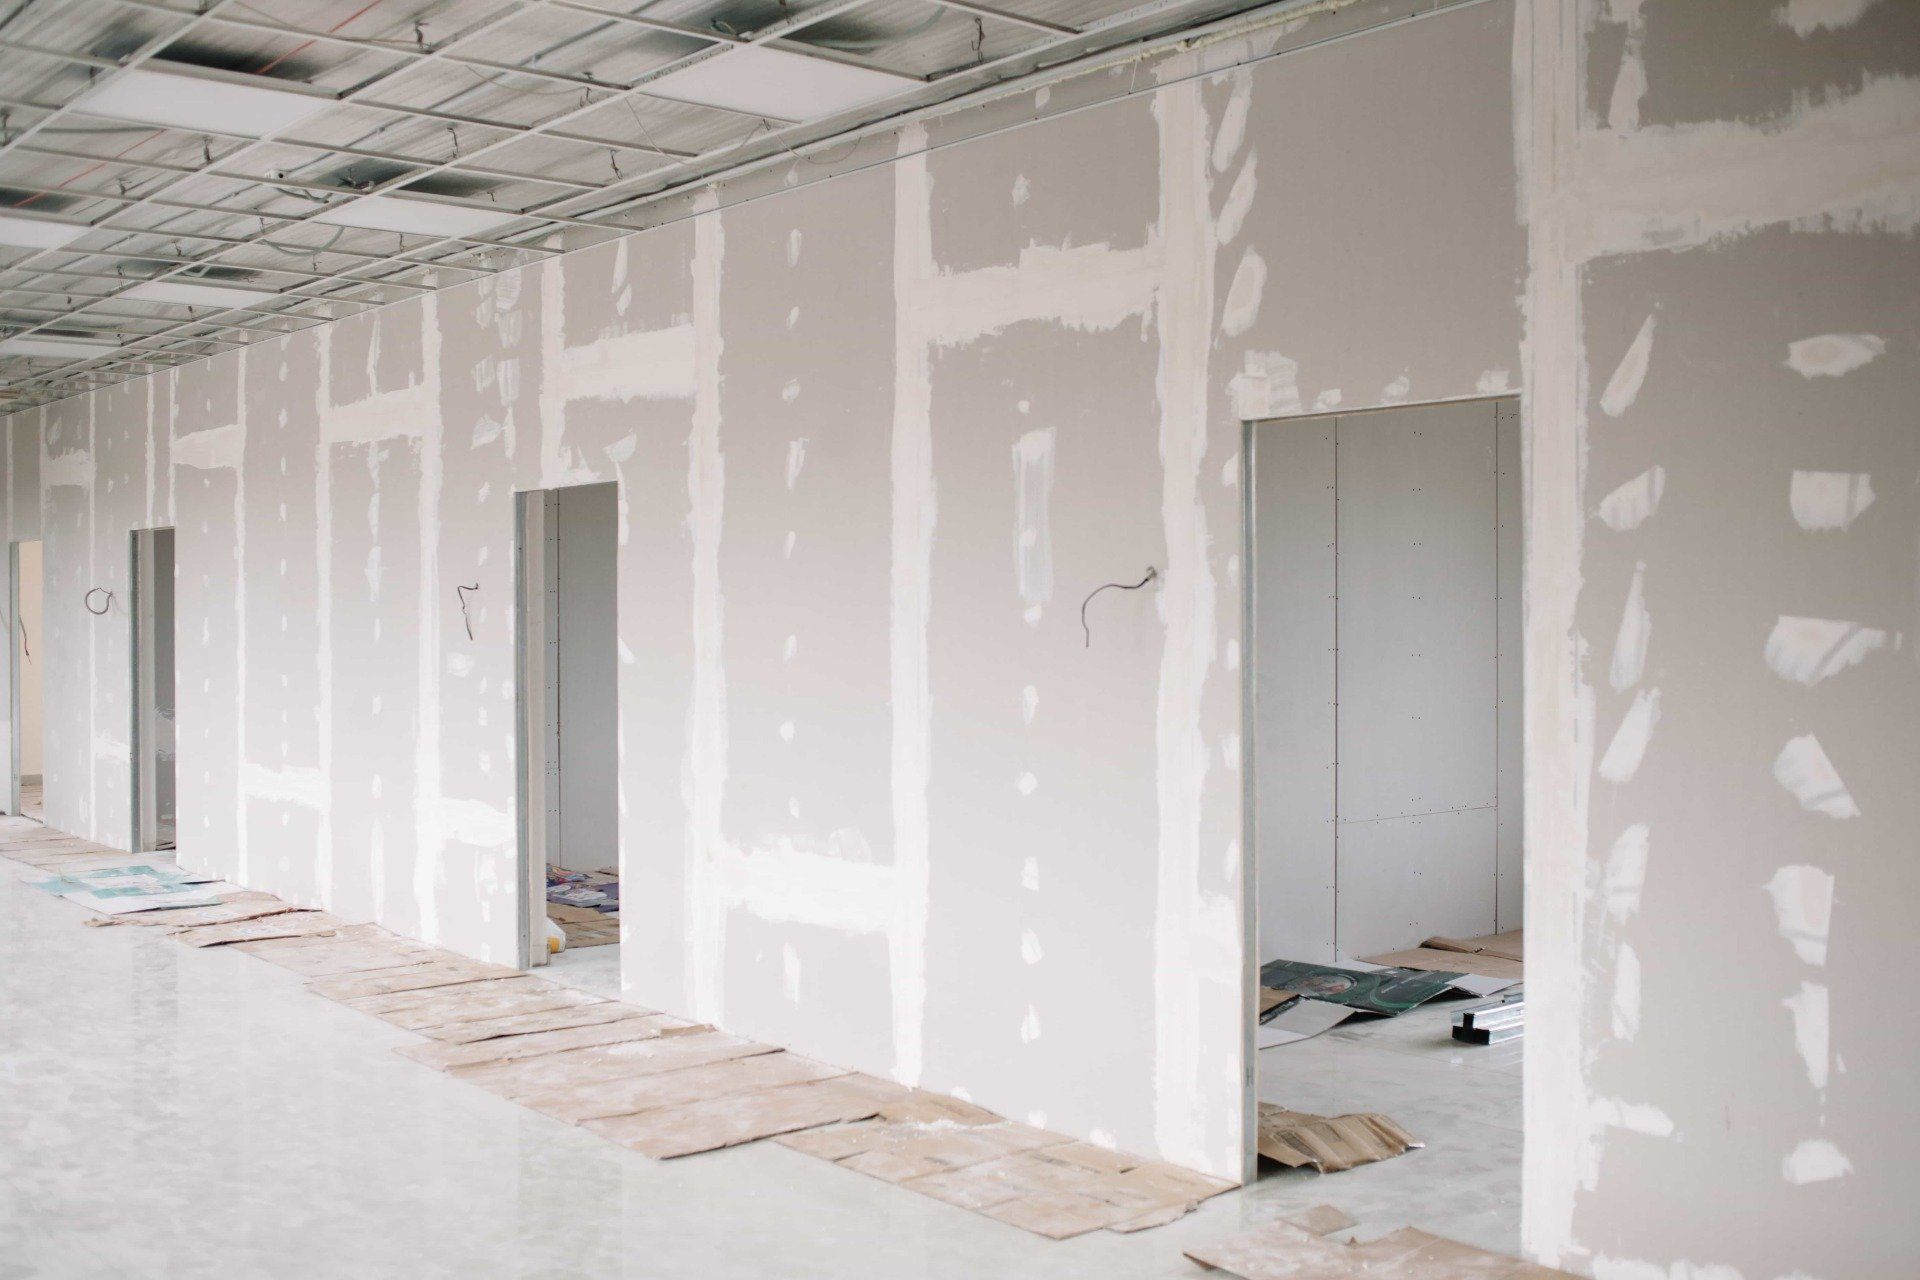
When to Call a Professional
DIY works for small rooms and simple repairs—but call in the pros if:
- You're finishing
large spaces or high ceilings
- There’s
extensive water damage or mold repair
- You want a Level 5 finish (a flawless, ultra-smooth surface)
Landry Drywall has over 35 years of experience serving all of Connecticut with expert drywall finishing. We handle everything from residential installs to commercial projects with clean, high-quality results.
